Preparing your Model
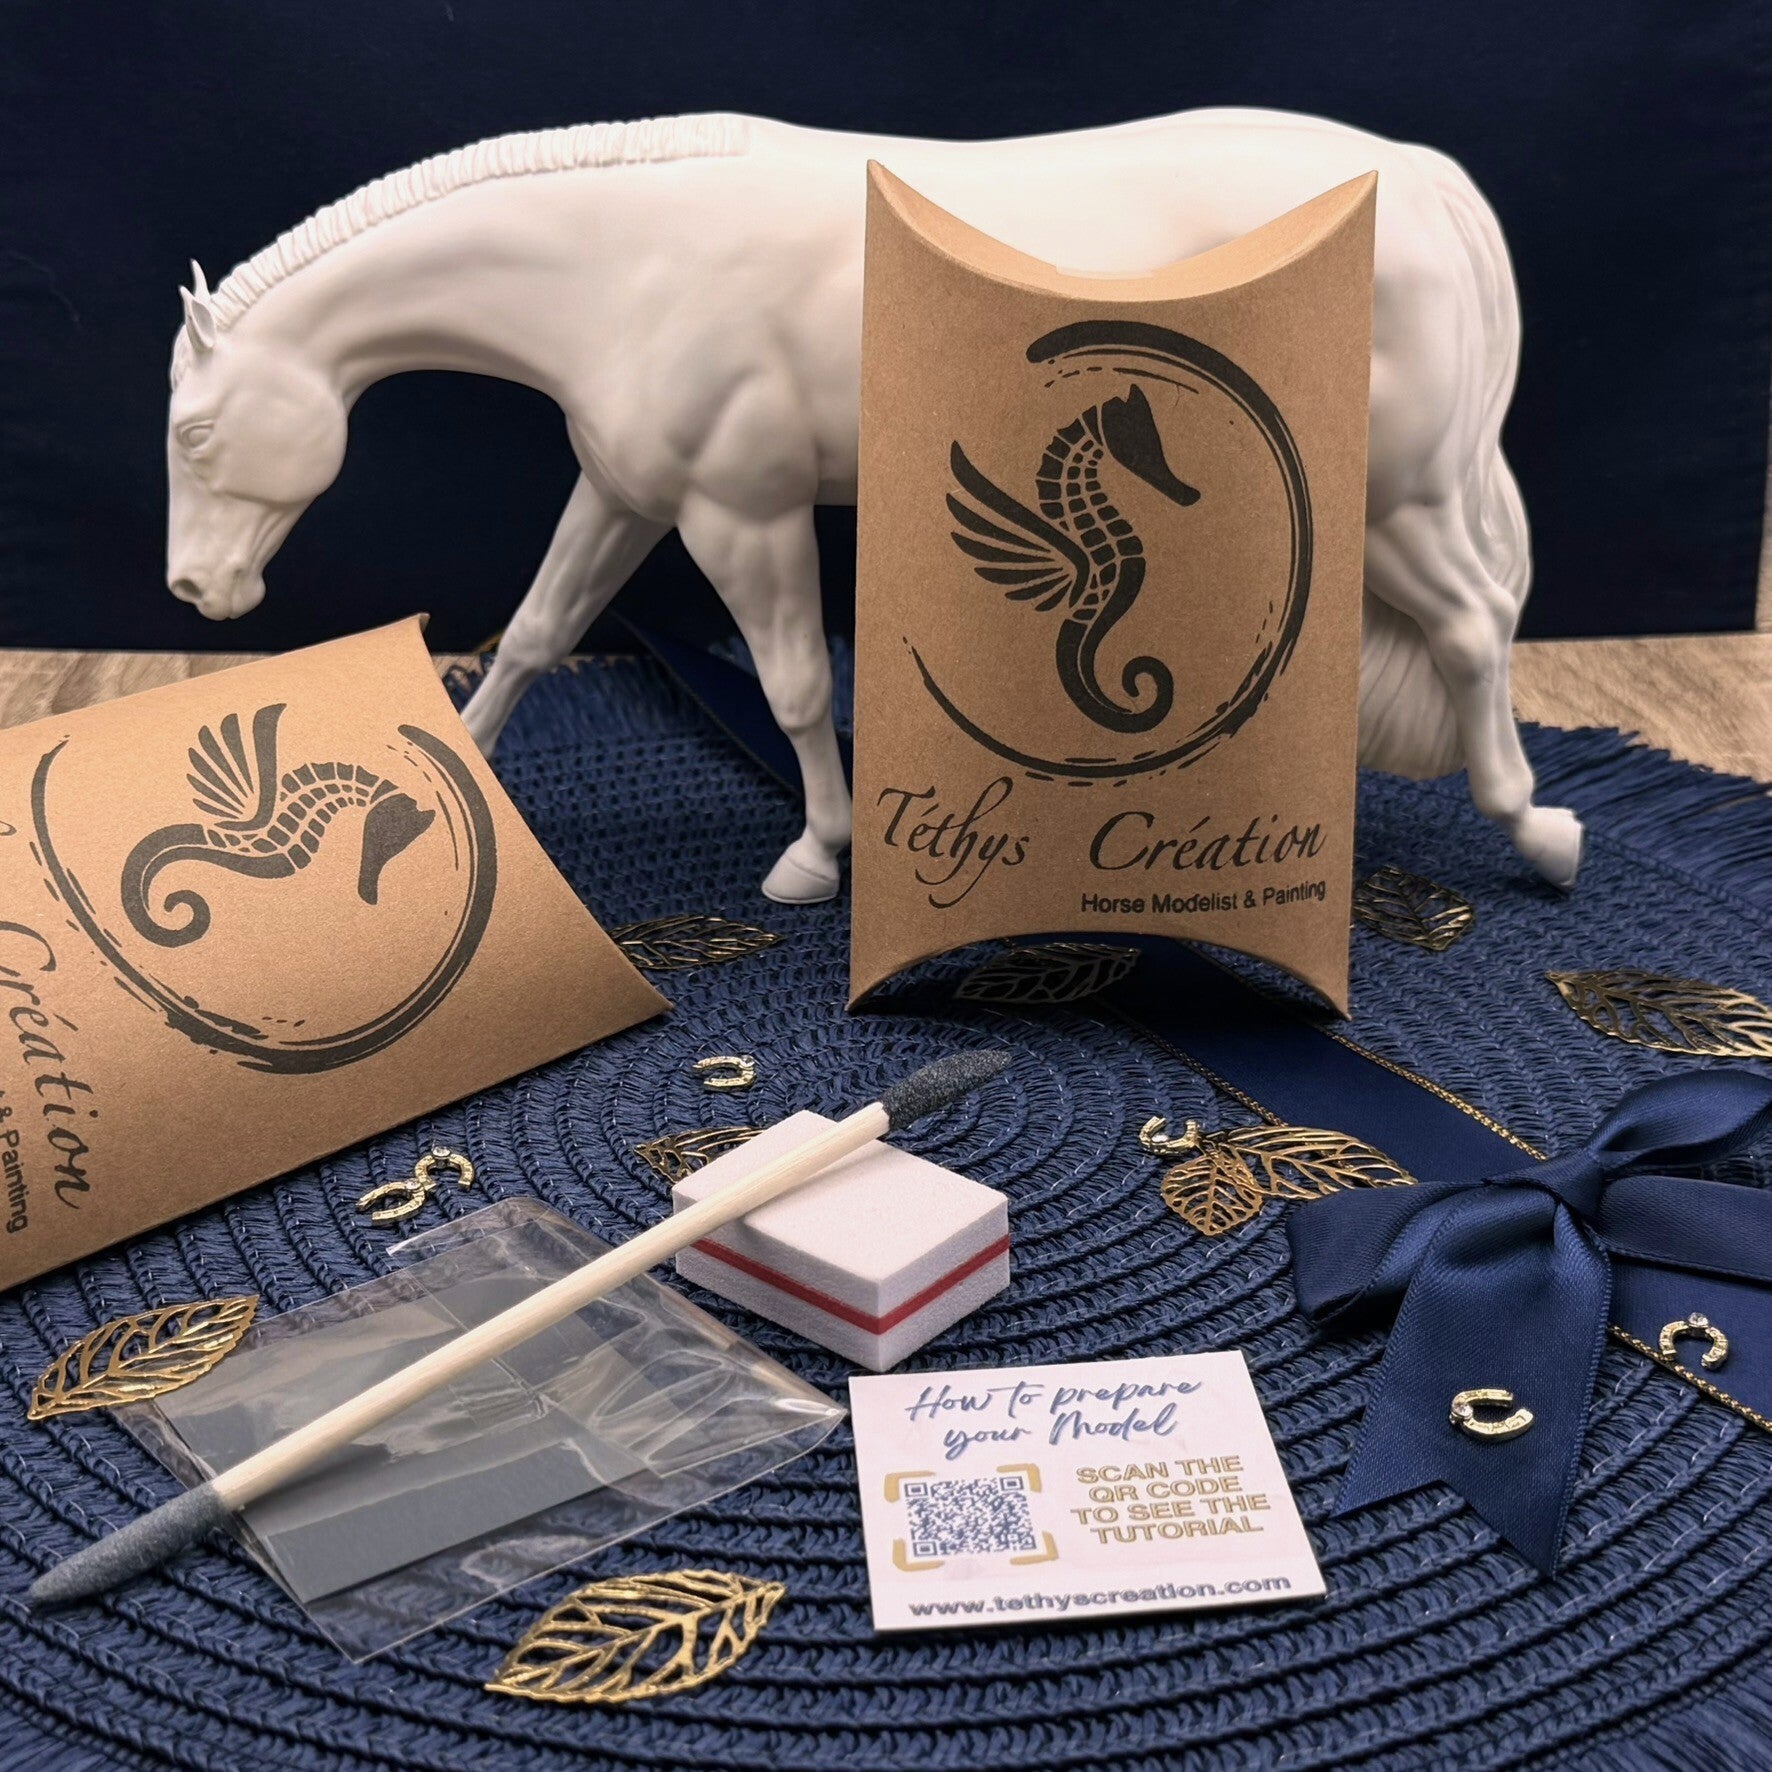
While choosing the Economic option for your model order, you'll receive a preparation pack complete with essential tools.
What you may see
Forgotten supports

Support traces
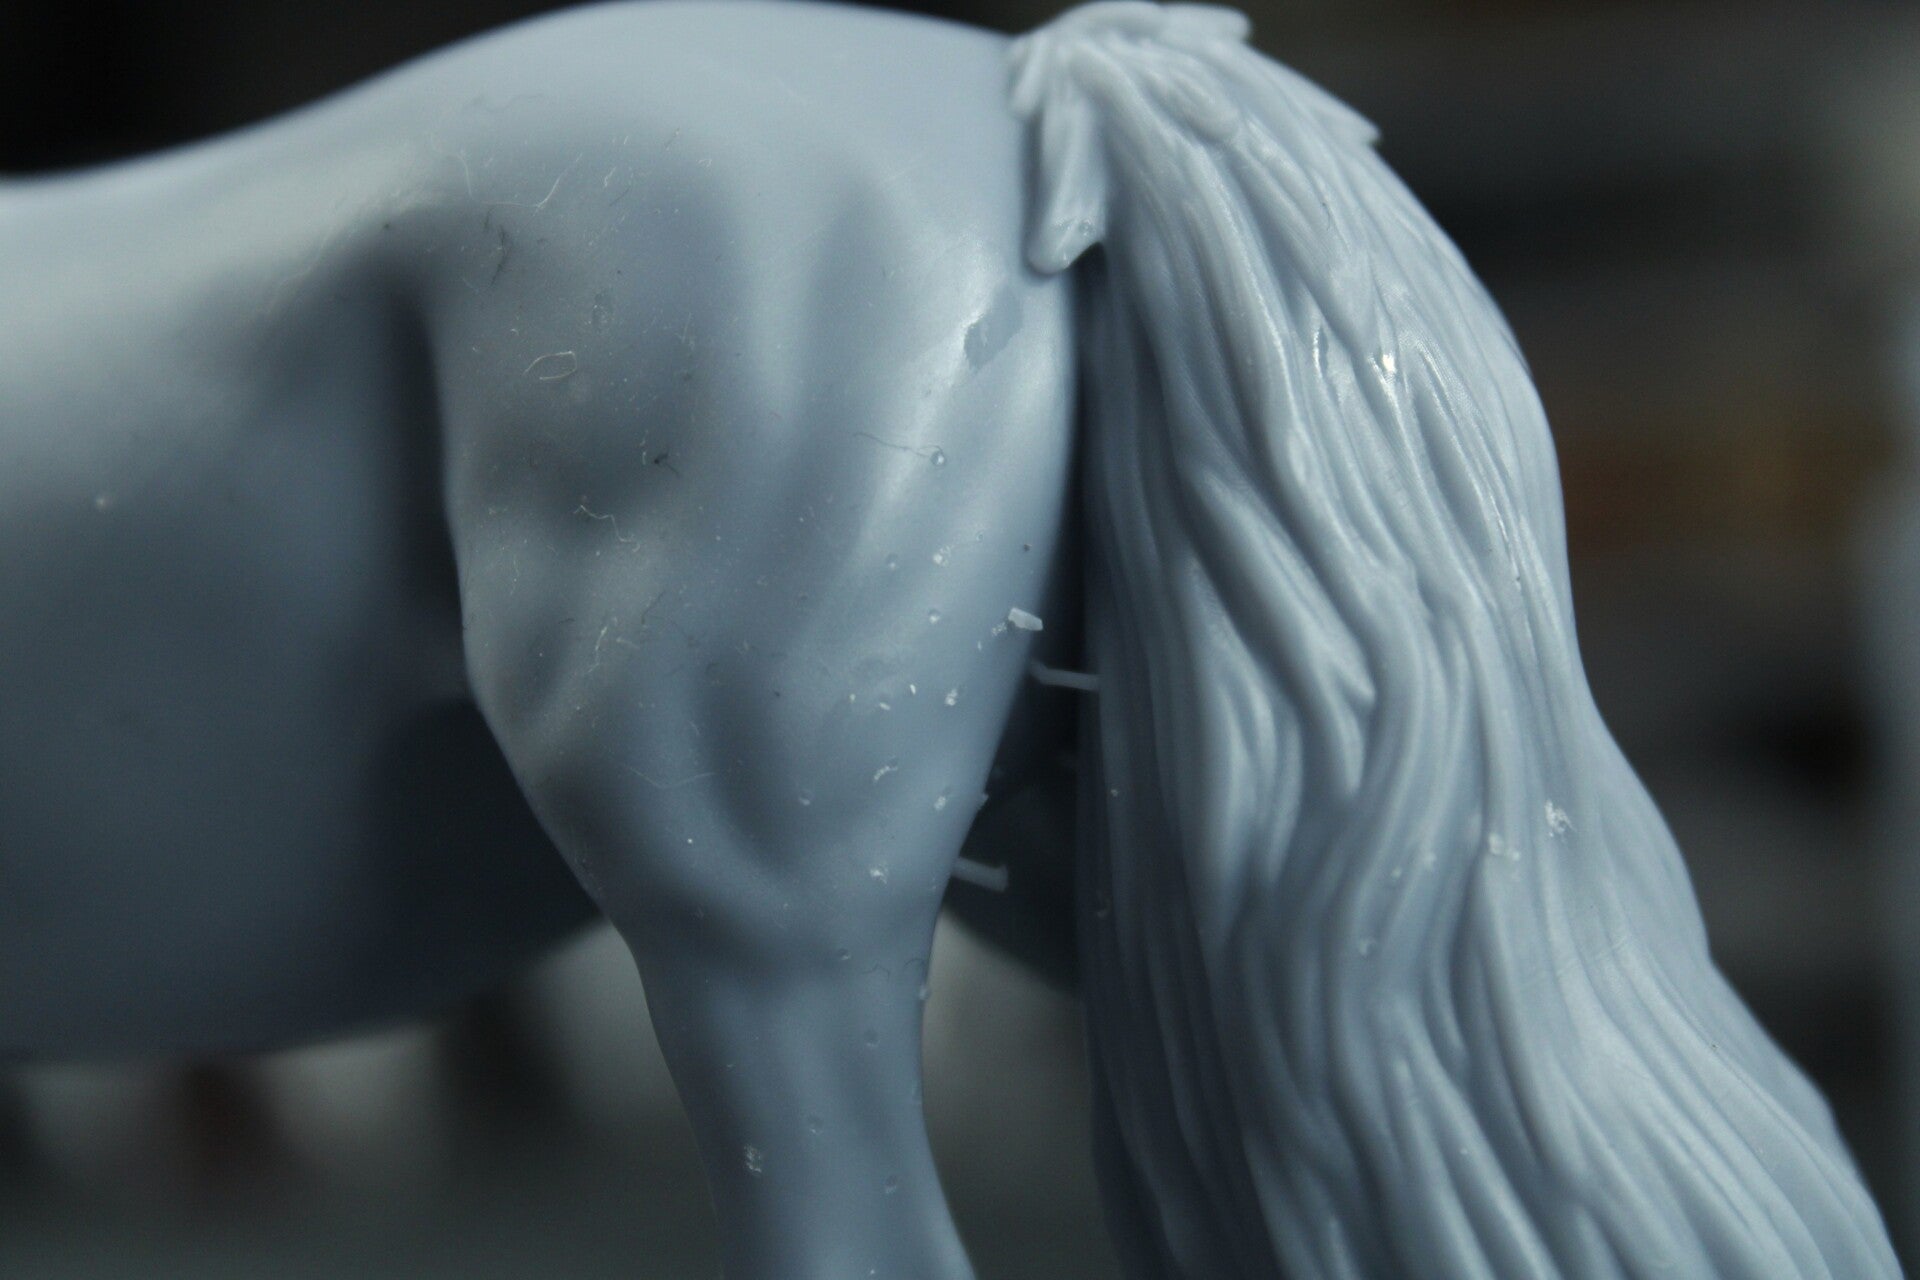
Bumps and printing lines
The tools needed
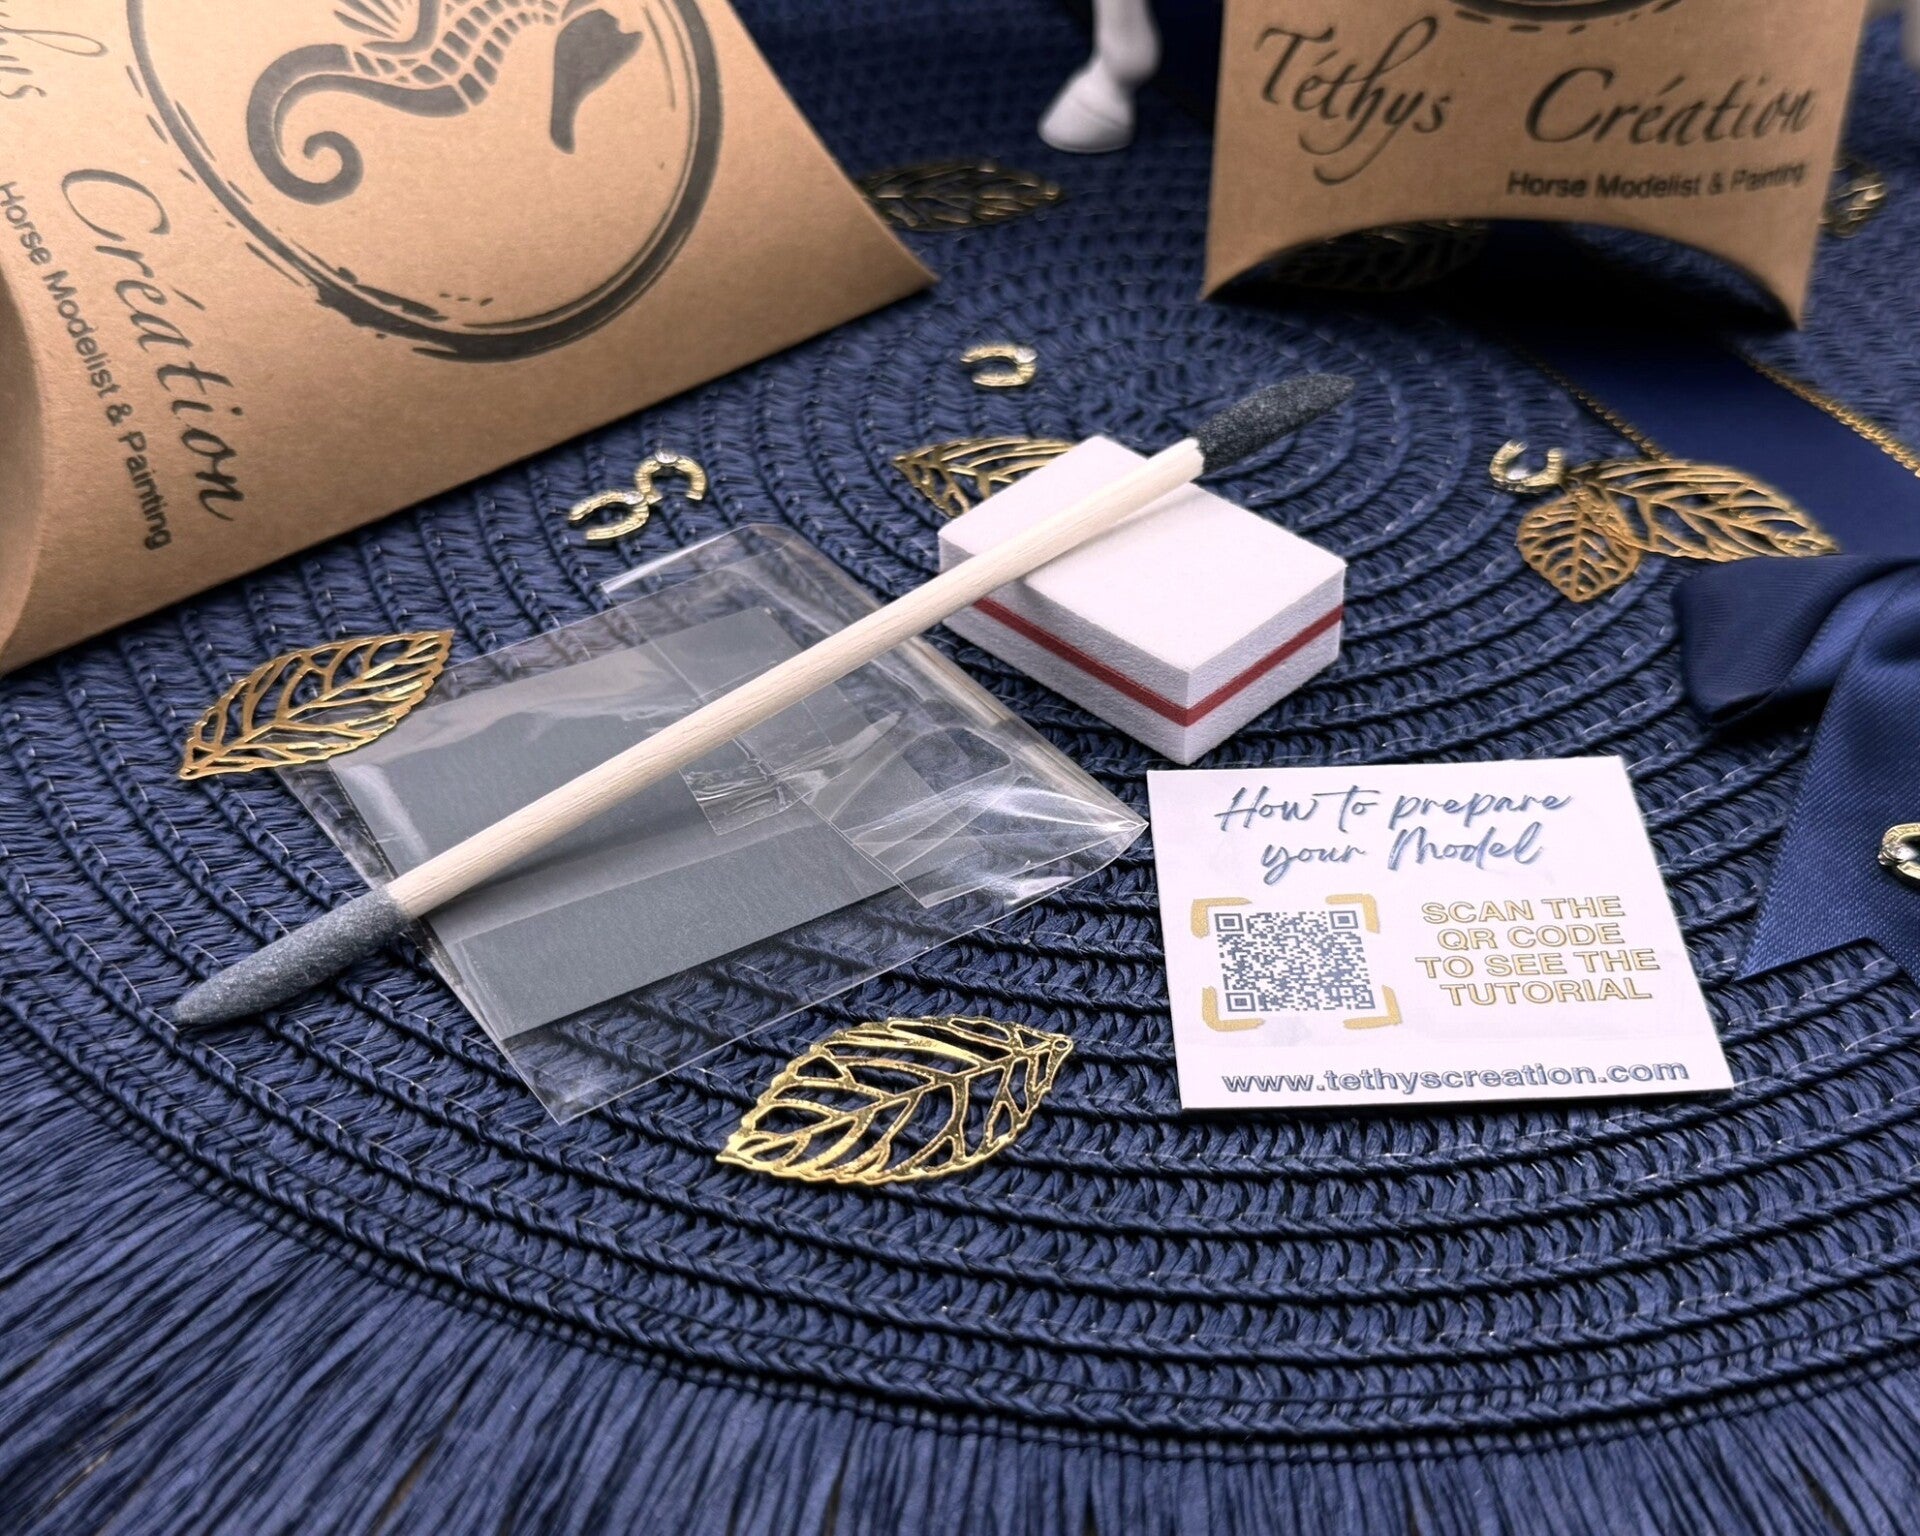
- a sanding stick or file
- a sanding and polishing block (grit 500)
- several sand papers with different grits (240, 800, 3000)
- a cutter blade (not included in the pack)
- a bit of motivation

First, carefully examine your model to identify the areas that require preparation.
Why do you need to prepare your models ?
3D printed models require supports during the printing process. While these supports are essential, they can sometimes leave minor imperfections on the model's surface. No worries! With proper preparation, you can achieve a flawless model.
Removing the supports
After cleaning your resin model in isopropyl alcohol, the next step is crucial for achieving the best results. To soften the support connections, you can either submerge the model in hot water (approximately 50°C) for a few minutes or use an air gun to carefully apply heat for a few seconds. This process helps loosen the supports, allowing you to remove them more easily and with minimal risk of damaging your model.
The model is then cured and solidified under UV light.
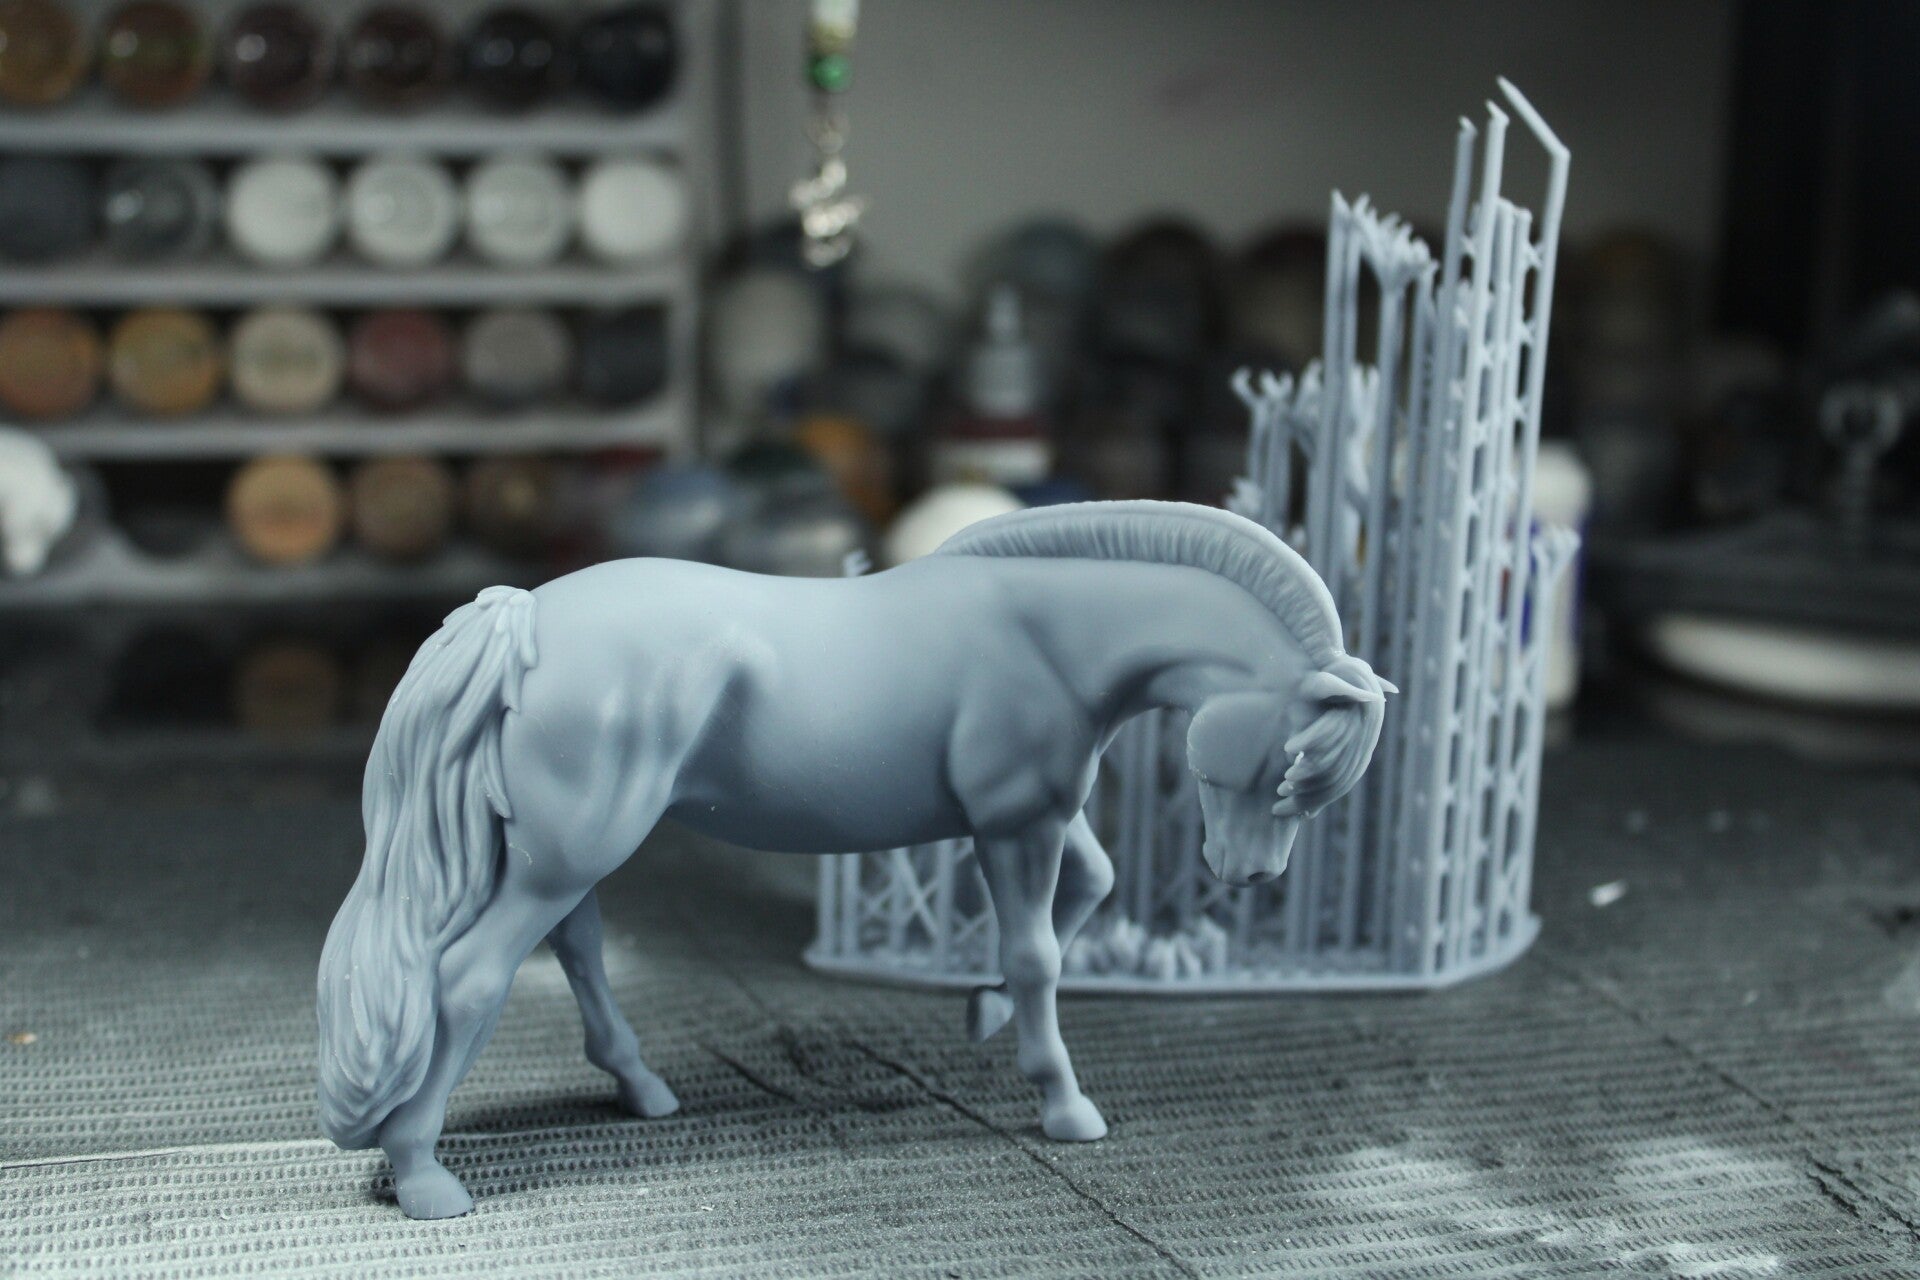
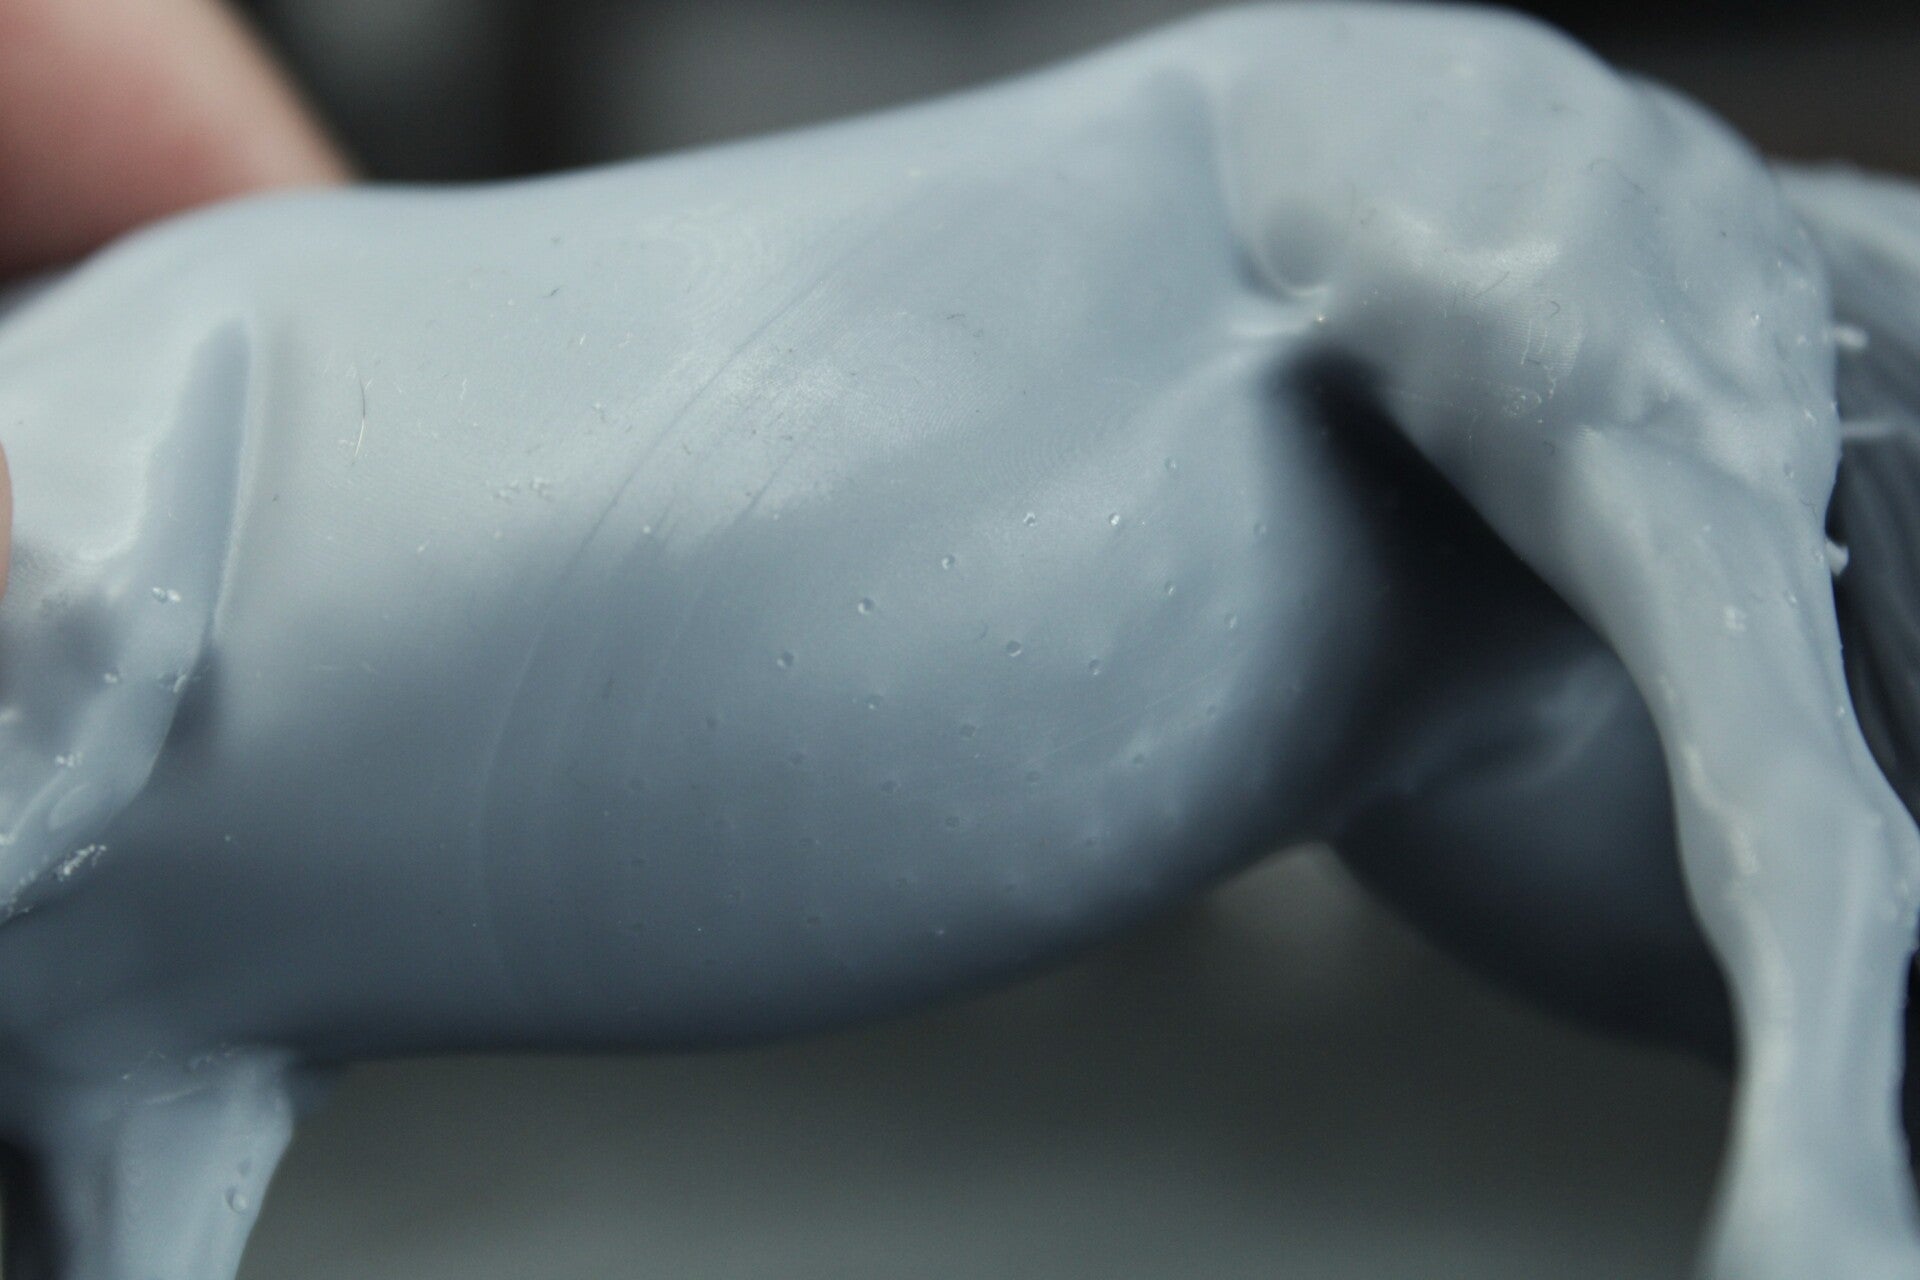
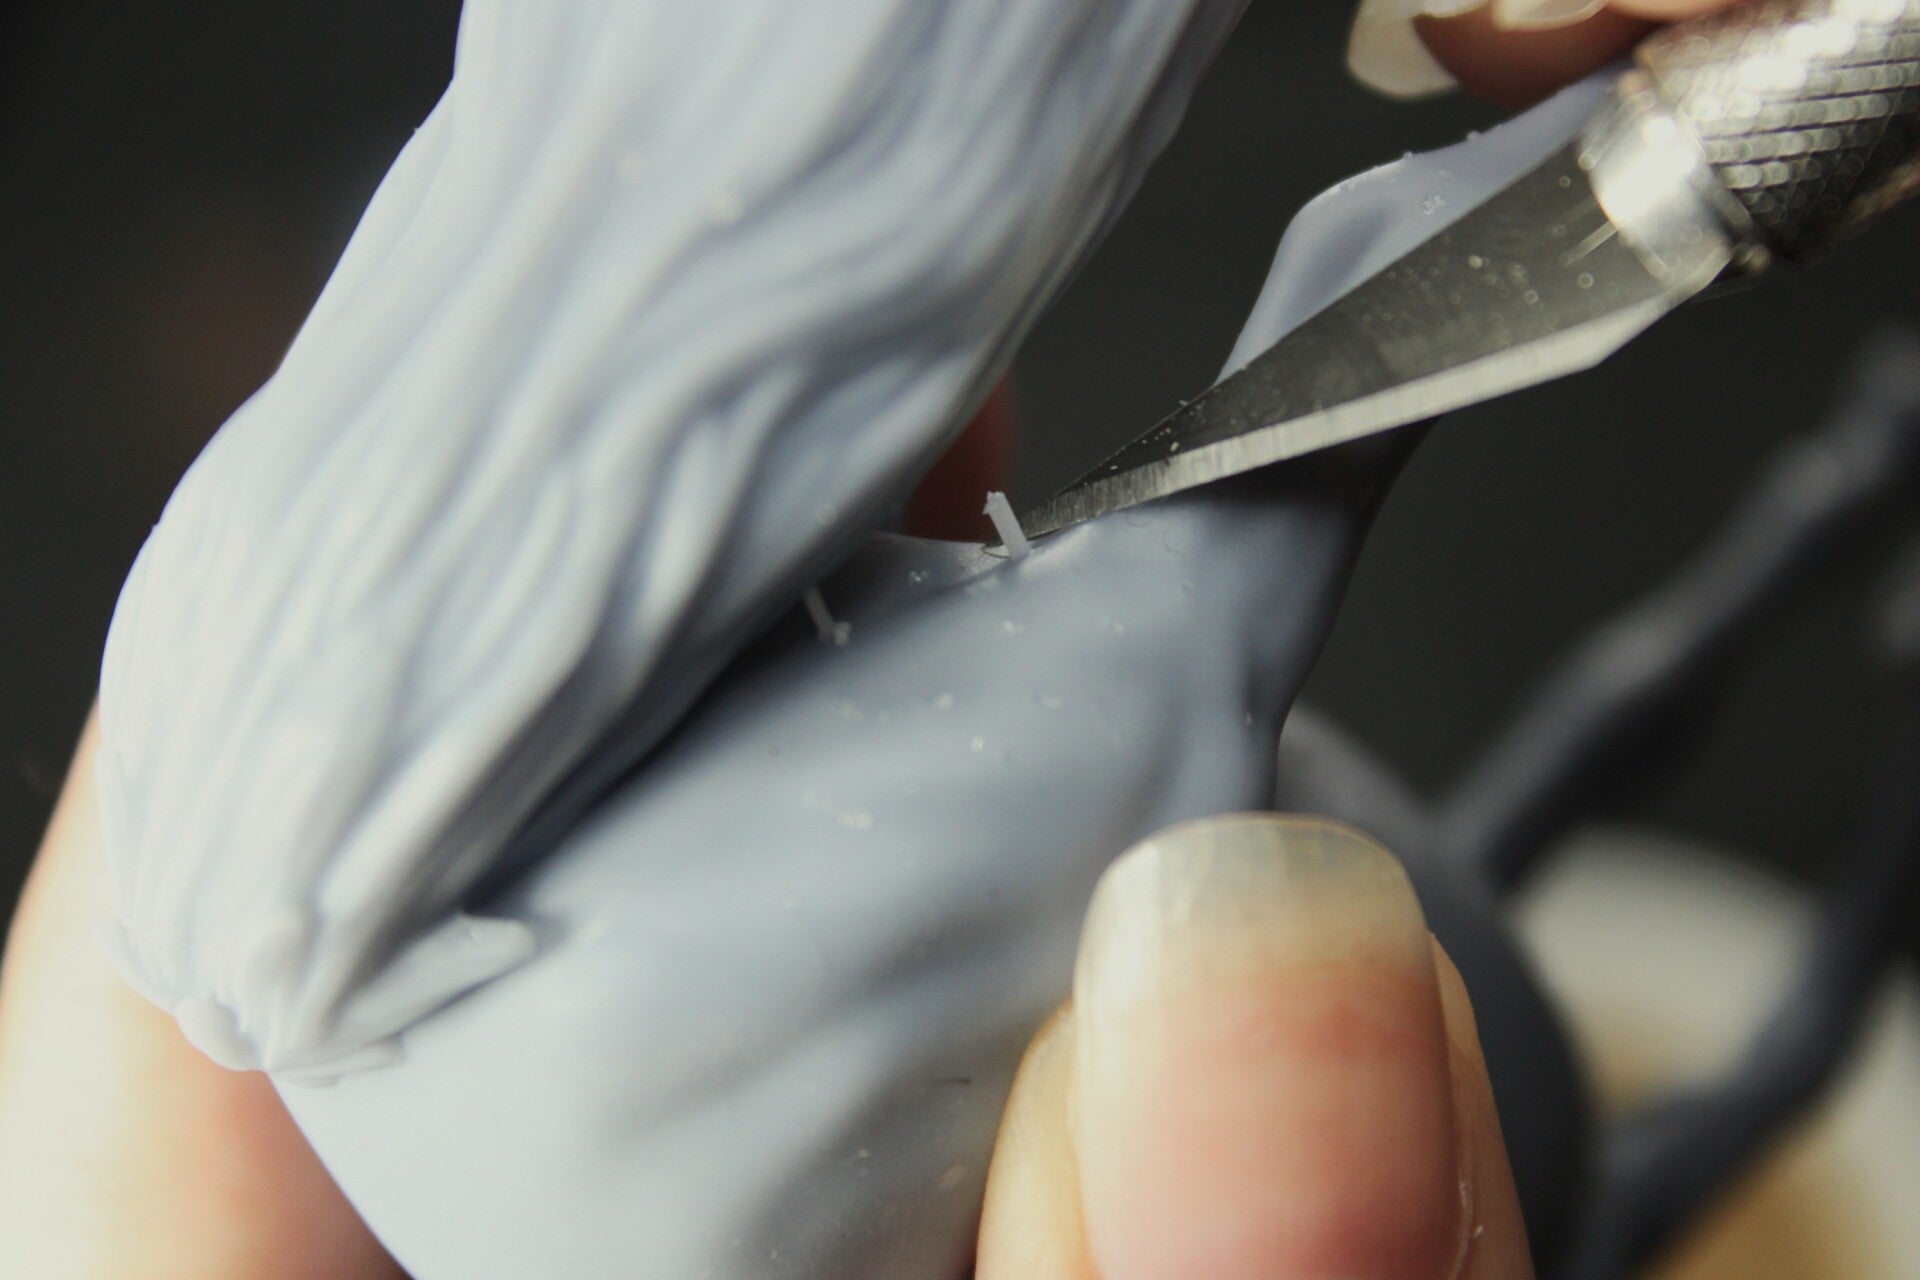
Cut the forgotten supports
When removing the larger supports, you might notice that a few smaller ones remain attached to the model. Additionally, there may be thin supports around intricate or detailed sections.
To remove these, use a precision cutter blade and carefully slice them off, ensuring the blade stays as close and aligned to the model's surface as possible.
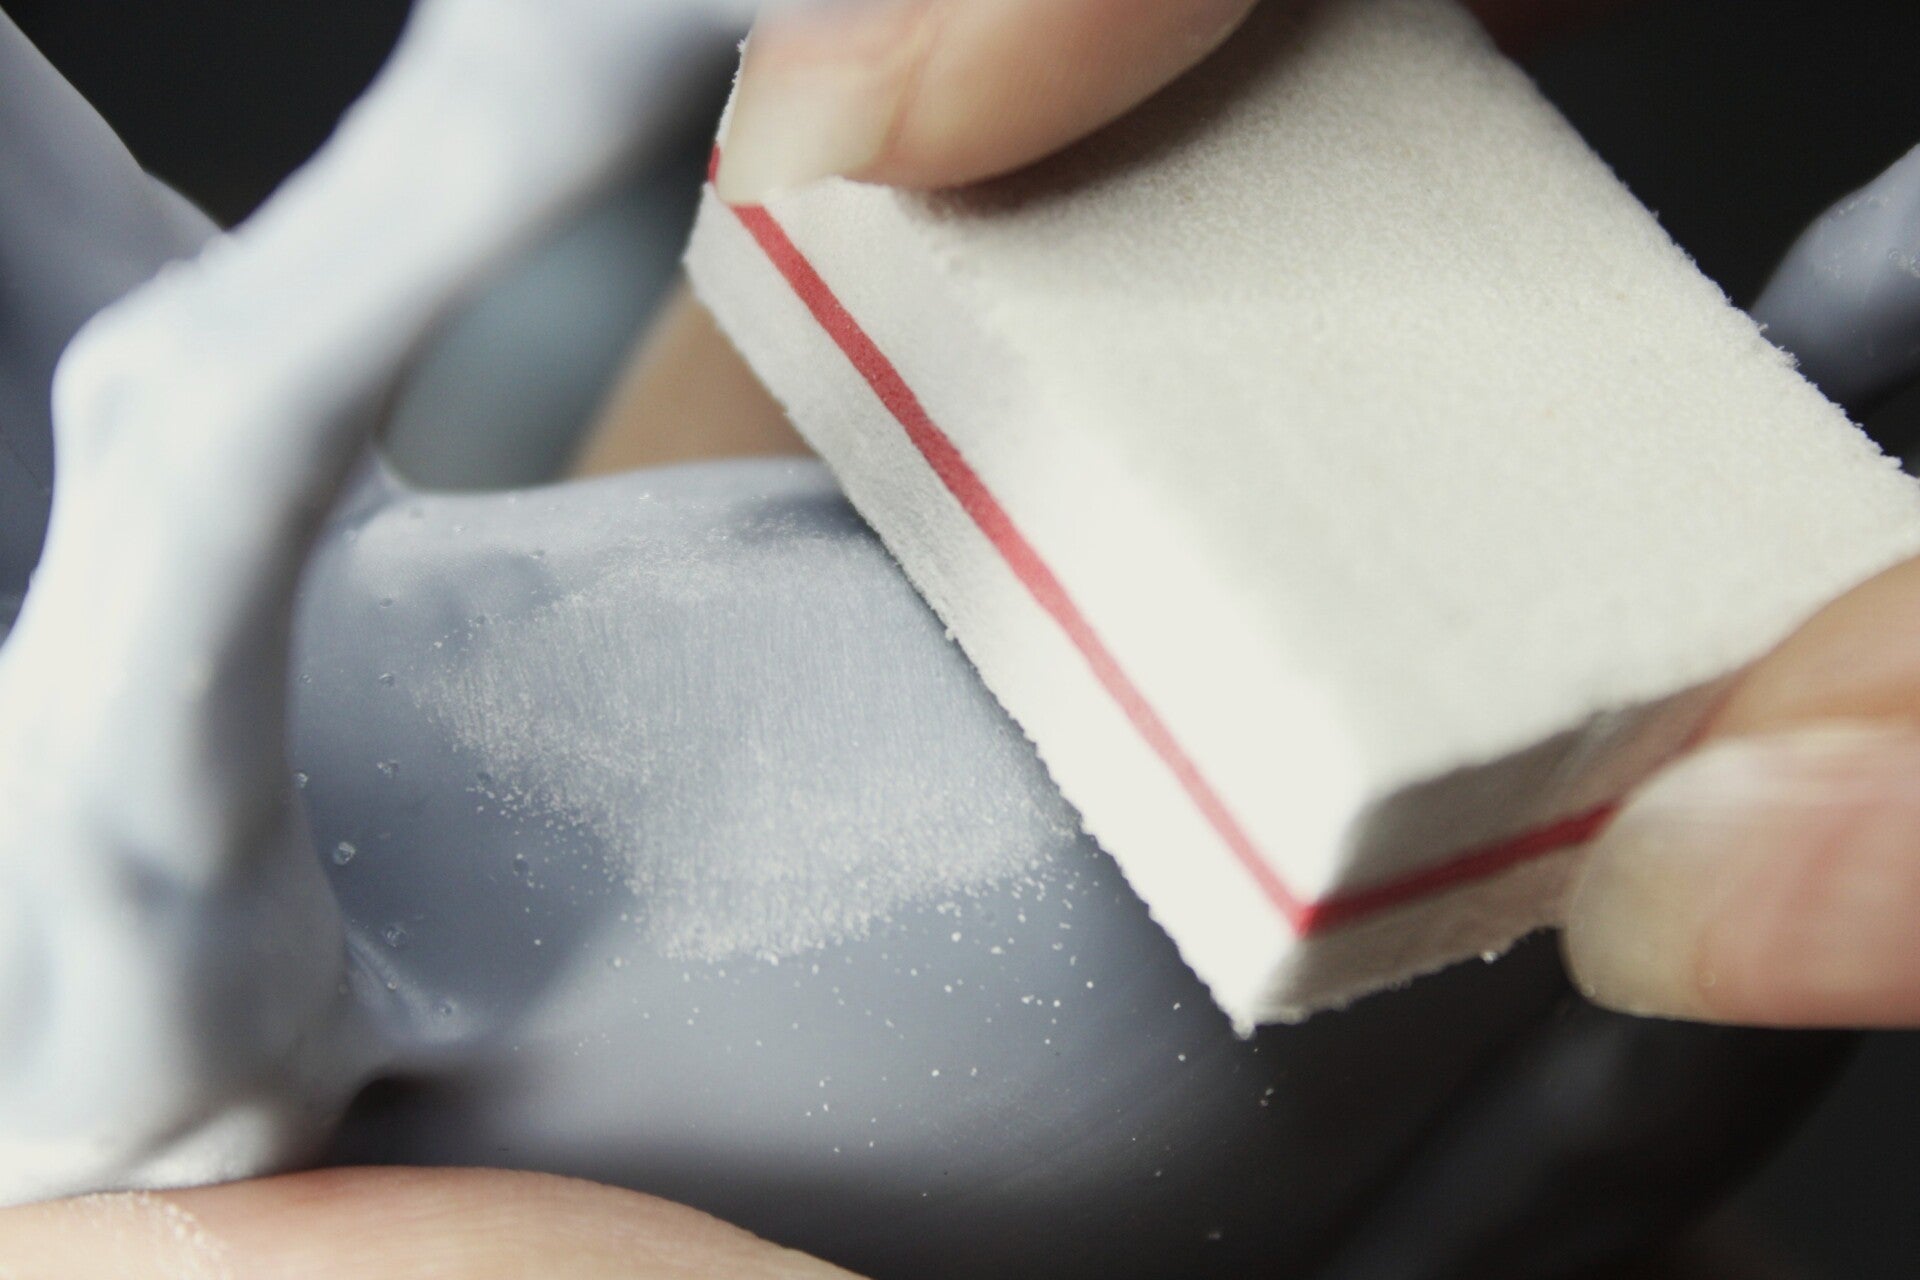
Sand the traces and bumps
Once all the supports are removed, you’ll notice some holes, marks, bumps, and lines on the surface.
Begin sanding with the coarsest sandpaper in the pack (240 grit). Gently work over the imperfections, taking care not to press too hard, as excessive pressure may damage or remove fine details. For tight or hard-to-reach areas, fold the sandpaper or use a sanding stick for precision.
Gradually move to finer grits until all scratches and imperfections are smoothed out.
For larger surfaces, use the sanding block with medium grit (around 500) for an even finish.
Cleaning the model
Your model is ready for painting! However, there’s one final step I highly recommend before priming: give it a wash.
Since my resins are water-washable, a quick rinse will help remove any dust or debris, ensuring a smoother finish when you prime.
Once primed, you might spot a few imperfections—don’t worry! You can simply sand, wash, and re-prime until you’re completely satisfied with the result.

Do you need help or futher informations ?
Feel free to contact me by email or on Instagram @tethyscreation